Monday, 11 April 2016

What to do when the dead come back, animating the characters

The project was animated in a similar way to my self initiated one, using digital cut out. unlike my self initiated project where i used live action images, in this one i used vectors, as i wanted to do things that couldn't be done with the live action images

the horizontal head turn in the my final project  is just an an animation of a head doing a full 360 turn. in the film the animation is just being rewound and fast forwarded. as seen in the  gif below

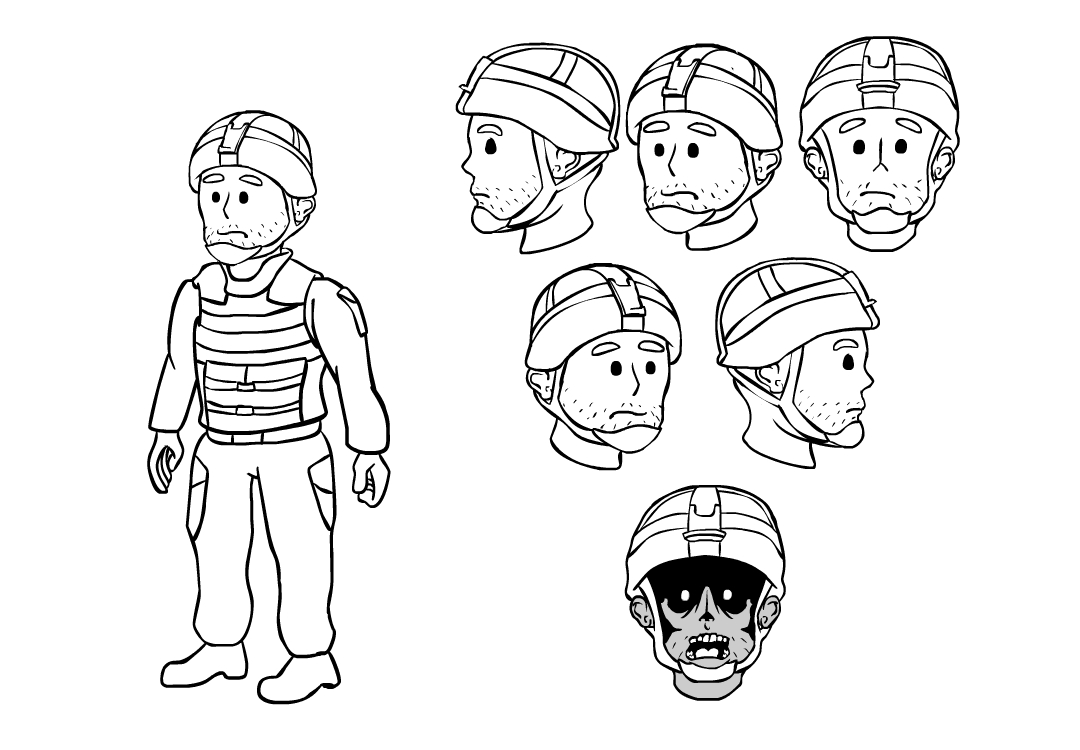
the vertical head turning is achieved by placing parts of the face at different distances on the z axis, when the head is looking to the side everything is in the same place on the z axis.


the bodies are also done in the same way


there are also a ton of other expression involved as well, such as on the ears, when the character is facing either front or back and looks up, the expression makes sure that the eyes are above the ears, and vice versa when the character looks down. 

Most of the things where controlled using sliders that where all located in the a controller layer, each character ad their own controller layer for things like eye position, eyebrows rotation and bod tilting and jaw size (for when a character open and close their mouth)


this is how big the expression controlling the jaw size was

Before I could even think about starting this project there was one problem i had to over come. Before when i talked about rewinding and fast forwarding the character head turn, since i was working with a video it meant i would not be able to change the characters expression without manually moving the different parts. if a character is looking to the screen is sad then looks to the side, then becomes happy then looks back to the screen. then the character will go back to looking sad as i had to rewind the head turn.

eventually I worked out an expression that would allow me over come this issue
Instead of including the expressive parts of the face in the video of the head turning, i instead put them on top of the head turn comp (he video of the head turn) in the main comp. the data for where they should be is in the head turn comp. the expression works out where the parts should be by looking the difference in time of the main comp and the head turn comp, then taking that way from the time of the main comp, the result of this is the time of where the parts should be by looking at the position value at that time.

for example: the main comp is at 5 seconds and the head turn is at 2. the expression finds the difference by doing the sum 5-(5-2) which is 3. then it says find the position value 3 seconds before the current tome. since it 5-3 seconds. it'll end up the position value at 2 seconds


some things had to be hand drawn as i felt it would be easier to do it this way, such as on hands and mouths

originally the film was going to be in colour, but because of the limited amount of time i decided that to make everything back and white instead.


Thursday, 21 January 2016

Final Project- Character design

Draft Zombies


Zombie drawings based on images from the internet, the last three were just images of regular people, I just made them look a bit zombie-ish


Draft Man


Final Man

Draft Woman

Final woman

Draft Soldier

Final Soldier

Draft Shop Zombie, top row and full figure on the right. 
Draft Zombie Man, bottom row

Final Shop Zombie

Final Man
Experimenting with art styles


 I was told to have a go of giving the character a thicker outline. The first is the regular line, the second is the thicker outline on only the contours of the figure, and the last is thicker outlines on all the lines


Friday, 27 November 2015

Drawing- 27th November 2015

Just did some traditional head measurement drawings, tried a technique i saw online for drawing limbs, you draw a circle where the beginning, middle and end of a limb would be, then join them together.


 I wasn't able to finish most of the drawings on time but I got another chance to do so since the model was repeating the poses. The 2nd years were doing something involving light and shadows, so I decided to add some shading to mine. I tried shading using cross hatches to help imply the 3d curves of the body.


Drawing- 13th November 2015

This lesson focused on hands, I took part in the second years task as it used a technique that I hadn't used before. In the first drawing we drew hands in that ever way we felt like

for the rest of the hand drawings we used a technique where we drew a box, then drew lines to  remove segments of the box so that it would form a shape slimmer to the hand, from that point on we drew the hand as normal, below is the first attempt
After the first attempt we did a rotation of a hand using the same technique, 10 minutes on each drawing. the hand gradually opened as it rotated. with the exception of the third and sixth one, these hands turned out pretty well. the drawings had realistic form and the ends of the fingers looked a lot less cartoony than the very first hand drawing of today


we finished of the day with a quick 10 minute sketch of the model

Drawing- 30th October 2015

First time doing life drawing after a four month break. since 3rd year students don't get their own class so we have to share with second, but I also don't have to follow the classes task and can do what ever drawing I want in class, They let us choose our selves to best suit the final project.


The drawings above were done using the classic measuring heads style, the one below I alternated male and female models after each head measurement


For my first session back after a long break, these drawings didn't turn out too bad
3rd Year